


Overview
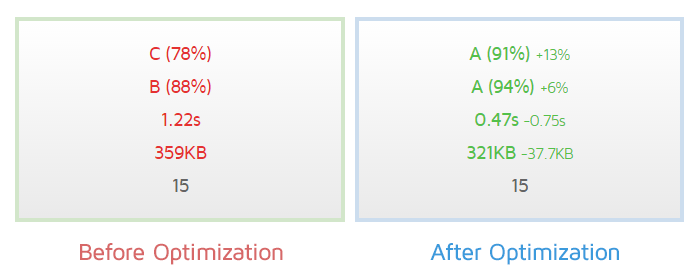
Many of our users run WordPress either as a CMS or blog platform. With a lot of great plugins available, it's easy to create a full-featured website with a lot of neat functionality. These plugins however, can insert additional CSS and JavaScript files into your header which can hurt your site's performance (and PageSpeed and YSlow scores). We've listed some plugins and written some recommendations for our WordPress users seeking optimization help. After installing the plugins and doing some tweaks, here's how our own blog fared: Note: These plugins address mainly front-end optimization issues only. If your site still takes a long time to load, an improved server or back-end code optimizations is what will make a real difference. Read more about our WordPress Hosting Service.***Optional First Step*** Download and activate GTmetrix for WordPress
Download GTmetrix for WordPress here Use this plugin to get a before snapshot of your WP performance. Note: We are currently working on a maintenance update of GTmetrix for WordPress. While it hasn't been updated in a while, it has been tested and still works for the latest version of WordPress (4.2.2), excluding some small formatting issues.
Enter your GTmetrix API key
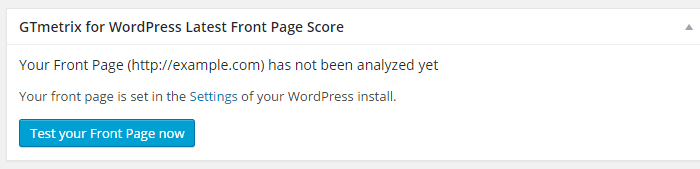
Test your Front Page

Front Page Report Generated
Step 1) Download and activate W3 Total Cache
Download W3 Total Cache here You'll notice a new section in your admin sidebar called "Performance." a) Toggle All caching types a) On the sidebar, click on the "General Settings" sub-section. Under "General," Check "Toggle all caching types on or off at once."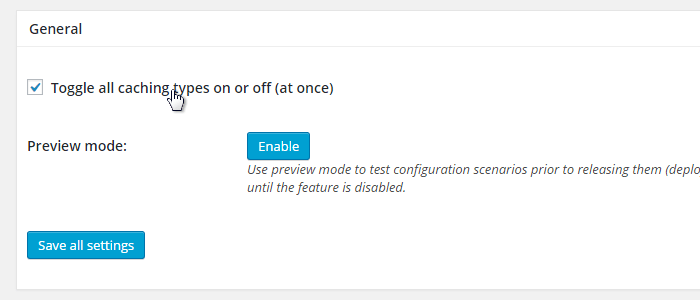
W3 Total Cache: Check the "Toggle all caching types on or off" option
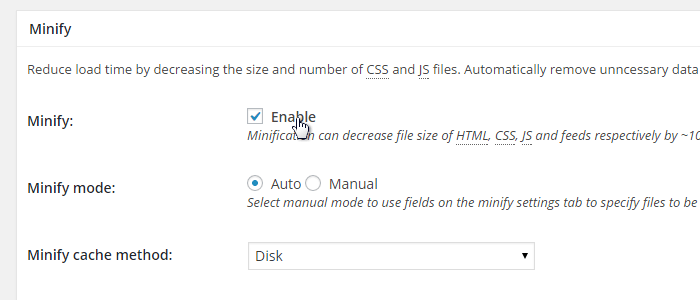
W3 Total Cache: Set Auto Mode for Minifying

W3 Total Cache: Enable HTML & XML minification, and other options if you wish
- Set expires header
- Set cache control header
- Set entity tag (eTag)
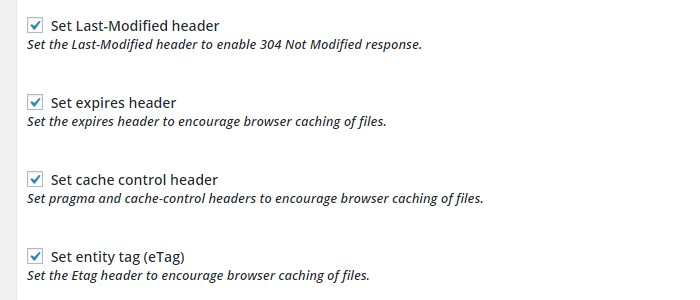
W3 Total Cache: Enable Browser Cache Options
Step 2) Download and activate WP Smush
Download WP Smush here Under the "Media" section in your WordPress sidebare, you'll see a new menu option called "WP Smush" In this section, ensure that the "Auto-Smush Images on upload" feature is checked. The plugin will now optimize every image you upload henceforth since you activated it.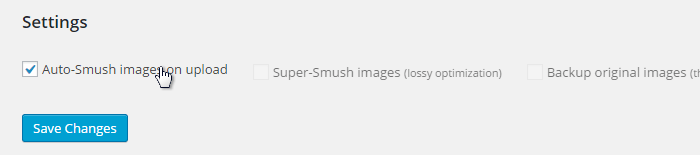
Ensure "Auto-Smush Images on upload" is checked.
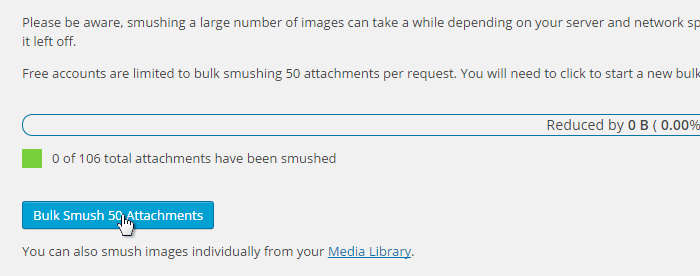
You can only Bulk Smush 50 media items at a time. Revisit this page to smush more.
No comments:
Post a Comment